How Much Rebar a Slab or Wall Needs — Bars, Laps and Cover
Published 8/13/2026 · 12 min read · Real-estate calculators

Marco Bianchi — Home, DIY & motoring writer at OneKitly
Renovation · Materials
Checked against 2 sources
Start from the structural drawing, because it is the drawing that decides bar size, spacing, cover and splice length — a calculator only counts what the drawing already specified. Given those, the arithmetic is simple. Bars across a span = floor((span − 2 × cover) / spacing) + 1, with the first and last bar sitting one cover in from each edge. For a 20 × 20 ft slab, 4 in thick, #4 bars at 12 in each way with 2 in of cover and 20 ft stock, the rebar calculator returns 20 bars each way — 40 bars of 19.67 ft — 786.7 linear feet, 525.5 lb of steel, 40 stock bars, 400 intersections to tie, and 133.33 ft³ of concrete for a steel ratio of 0.819 %. No splices appear because a 19.67 ft bar comes out of a 20 ft stick. Laps are quoted in bar diameters: at the default 40d, a #4 laps 20 in and a #8 laps 40 in. That default is a placeholder, not a design — real lap length depends on concrete strength, bar grade and size, spacing, coating and whether the bar is a top bar, and ACI 318 requires the engineer to show the locations and lengths of every splice on the drawings. Two things to watch in the output: the number of laps is derived from the unspliced bar length, so on a 40 ft run of 20 ft #5 bars the tool counts one lap where two are needed; and the stock-bar count is simply total length divided by bar length, which assumes every offcut gets reused. Order a few bars over what it says.
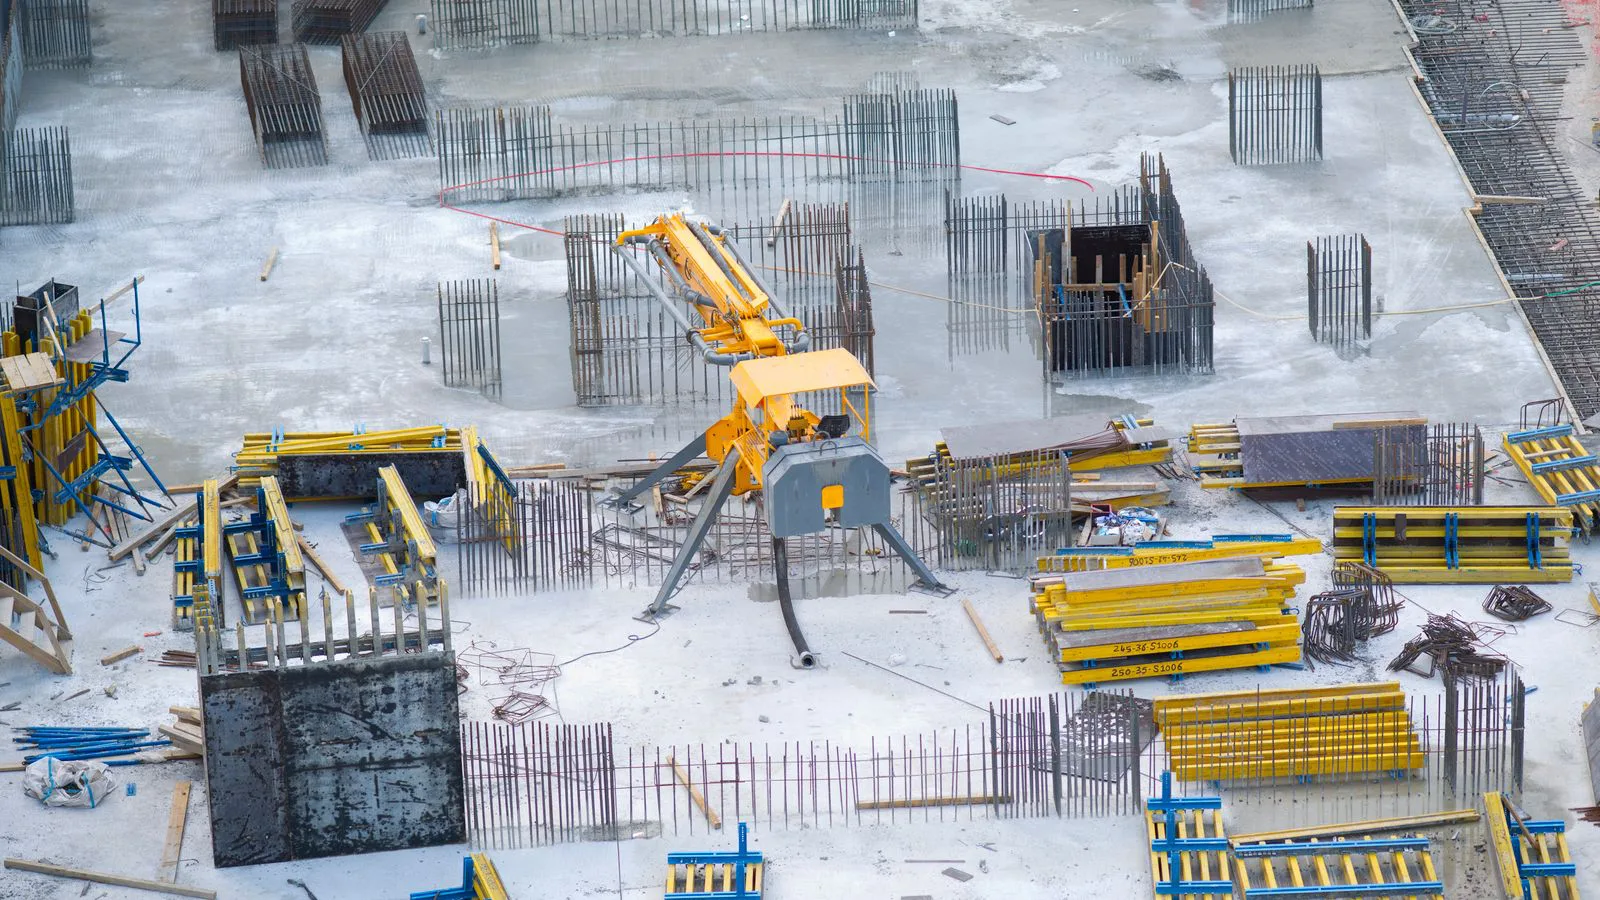
Bars each way, splice lengths in bar diameters, cover from the edge, and the exact tonnage to order. Run against the calculator, including the two places where its bar count comes out short.
Spacing is the whole quantity
Halve the spacing and you double the steel, near enough. On the 20 × 20 ft slab above, #4 bars at 12 in give 40 bars and 525.5 lb; at 8 in, 60 bars and 788.2 lb; at 6 in, 80 bars and 1,051.0 lb. The steel ratio tracks it exactly: 0.819 %, 1.229 %, 1.639 %. Nothing else you can change moves the tonnage as fast — bar size is a step function with big steps, and cover barely moves it at all.
The count formula is worth knowing by heart, because it explains the off-by-one that everyone argues about on site. Bars = floor((span − 2 × cover) / spacing) + 1. The "+1" is the last bar; the floor is what happens when the span does not divide cleanly and the final gap comes out smaller than the nominal spacing. So a 6 m width at 200 mm with 50 mm cover gives floor(5 900 / 200) + 1 = 30 bars, not 30 gaps and 31 bars, and not 6 000 / 200 = 30 either — it just happens to land on the same number here.
One structural limitation of the calculator that changes the answer by a factor of two: it counts ONE mat. There is no input for top and bottom layers. A suspended slab, a raft, a wall with reinforcement on both faces — all of those carry two mats, and the honest way to use the tool is to run it once and double everything, or to run it twice with the two spacings if they differ. The 0.743 % ratio it reported for the 8 × 6 m slab is a one-mat ratio; two mats would be 1.486 %.
Laps: a splice is a structural detail, not a rounding decision
When two bars have to carry the same force through the same section, the load transfers from one to the other through the concrete around them. The bars overlap for a length long enough to develop that force, and the length is expressed as a multiple of the bar diameter because that is what the mechanics depend on. Get it too short and the splice does not develop the bar; the failure mode is a bond failure, which is sudden. Getting a lap wrong is not a cost overrun, it is a structural defect that a concrete pour makes permanent.
The calculator asks for the lap in bar diameters and defaults to 40. At 40d that gives 20 in for a #4, 25 in for a #5, 30 in for a #6 and 40 in for a #8 — the tool simply multiplies. Change the field to 30 or 50 and the total steel moves by only a percent or two on a job with few splices, so the number is cheap to get wrong in cost terms and expensive to get wrong in every other sense. Treat 40d as a placeholder until the drawing tells you otherwise: real lap length depends on the concrete's compressive strength, the bar's grade and diameter, how closely the bars are spaced, whether the bar is epoxy coated, and whether it is a top bar with a lot of fresh concrete cast below it.
There is a real counting defect here, and it shows up on any run longer than one stock bar. The tool derives the number of laps from the UNSPLICED length: laps = ceil(bar length / stock length) − 1. It then adds the laps and reports the longer run — but never re-checks whether the longer run still fits in that many sticks. On a 40 ft slab with 20 ft #5 bars the bar is 39.67 ft, the tool counts one lap and reports a 41.75 ft run, and a 41.75 ft run needs three 20 ft pieces, which means two laps. On a 60 ft slab it counts two laps and reports 63.83 ft, which needs four pieces and three laps. The error is always in the same direction: too little steel.
Cover is the reason the slab lasts fifty years
Steel in concrete does not rust, and the reason is chemical rather than physical. Fresh concrete is strongly alkaline, and that high pH grows a passive oxide film on the bar that stops the corrosion reaction. Two things destroy it: carbonation, where atmospheric carbon dioxide slowly reacts with the concrete and drops its pH from the surface inwards, and chlorides, from de-icing salt or sea air, which break the film even at high pH. Cover is the thickness of concrete the aggressor has to get through first. It is a clock, and every millimetre you take off runs it faster.
In the calculator, cover does two jobs at once and this is worth understanding before you trust the bar count. It shortens each bar — bar length = span − 2 × cover — and it also positions the first and last bar, one cover in from the edge. One value serves both, and it serves both directions and all four edges. Real drawings do not work that way: bottom cover against the ground is usually larger than side cover, top cover is different again, and an exposure class can push one face out and leave the others alone. The effect on tonnage is small, which is why nobody notices: on the 8 × 6 m slab, going from 25 mm to 75 mm of cover changes the steel from 423.0 kg to 416.8 kg. The effect on durability is not small at all.
What to order, and why it is more than the tool says
The stock-bar figure is total length divided by stock length, rounded up. That is arithmetically true and practically optimistic, because it assumes every offcut finds a home. Take the 8 × 6 m slab with 6 m bars: the tool reports 487.4 m of steel and 82 bars. Physically, the 40 short-way bars each come out of one 6 m stick, and each of the 30 long-way runs needs a full 6 m plus a 2.38 m tail; two tails fit in one stick, so 15 more sticks. That is 85 bars with careful cutting, and 100 if the yard cuts each run from fresh bar and skips nowhere.
Two more line items the calculator gives you and most estimates forget. The number of intersections to tie: 30 × 40 = 1 200 on that slab, and it converts them to tie wire at roughly one pound per 150 ties, which comes out as 3.63 kg. Worth noting for readers working in inches: the tie-wire mass is printed in kilograms even in imperial mode. And the concrete volume, which it computes from the slab thickness and prints alongside a steel ratio — the ratio is the single best sanity check available. A domestic ground slab lands somewhere around half a per cent to one per cent by volume for one mat. Three per cent means you typed something wrong.
One thing the calculator does right that is easy to miss: the waste percentage scales the length, the weight and the number of stock bars, but it does NOT touch the steel ratio, which is computed from the pre-waste length. That is correct. The ratio is a property of the design; the waste is a property of the purchase order, and mixing them would make the ratio meaningless as a check.
| Spacing | Bars | Total length | Weight | Stock bars | Steel ratio (one mat) |
|---|---|---|---|---|---|
| 6 in | 80 | 1,573.3 ft | 1,051.0 lb | 79 | 1.639 % |
| 8 in | 60 | 1,180.0 ft | 788.2 lb | 59 | 1.229 % |
| 12 in | 40 | 786.7 ft | 525.5 lb | 40 | 0.819 % |
| 18 in | 28 | 550.7 ft | 367.8 lb | 28 | 0.574 % |
Frequently asked questions
- Does this calculator design the reinforcement for me?
- No, and it does not try to. It has no input for concrete strength, imposed load, soil bearing capacity, exposure class or seismic category, so it cannot possibly decide a bar size or a spacing — it counts the bars implied by numbers you supply from somewhere else. That somewhere else is a stamped structural drawing. Where a drawing exists it governs and the calculator is a take-off tool; where none exists, the answer is to commission one.
- Why is the lap given in bar diameters rather than in inches?
- Because the force a bar can carry scales with its cross-sectional area, and the bond surface available to transfer that force scales with its perimeter times the length. Both are set by the diameter, so the required length comes out proportional to the diameter and a single multiple covers every bar size. That is why the tool asks for a multiplier and then reports 20 in for a #4 and 40 in for a #8 from the same setting. The multiplier itself, though, is not universal — it moves with concrete strength, bar grade, spacing, coating and bar position, which is why the design code makes the engineer state it on the drawing.
- The calculator says 40 stock bars. Should I order 40?
- Order more. The figure is the total length divided by the stock length, which is right only if every offcut is used somewhere. When every bar comes out of one stick with nothing left over, as in the 20 × 20 ft example, the number is exact. As soon as runs need splicing it drifts low: on an 8 × 6 m slab cut from 6 m bars it says 82 where a careful cutting plan needs 85. Add the same margin you would add anywhere else on a concrete job — five per cent — and check the bending schedule against the drawing before the delivery.
- How do I handle a slab with top and bottom mats?
- Run the tool twice. There is no layers input, so a single run gives you one mat and one mat only. If both mats use the same bar and spacing, run it once and double the bar count, the length, the weight, the stock bars, the ties and the steel ratio — but not the concrete volume, which is already the whole slab. If the mats differ, run each and add. The same applies to a wall reinforced on both faces. This is the single easiest way to under-order rebar by half, and the ratio is the check that catches it: one mat at half a per cent is normal, and if the drawing calls for two mats you should be seeing double that.
- Can I substitute welded mesh for loose bars?
- Only if the drawing allows it, and never by eye. Mesh is specified by a sheet designation that fixes the wire diameter and the pitch in both directions, and it has its own lap rules — usually expressed in whole squares of the mesh rather than in wire diameters, because the transverse wires do part of the anchorage. The calculator does not model mesh at all: it counts loose bars laid on a grid. If your drawing calls for mesh, price it as sheets against the slab area plus laps, and use this tool only for the loose bars around openings and edges, which mesh never covers.
Articles you may find interesting
All guides →Related tools
This is a material estimate, not an engineering design, and nothing on this page sizes a structure. Bar sizes, spacing, cover, lap lengths and splice locations are decided by a qualified engineer and shown on a stamped structural drawing; where a drawing exists it governs, and where none exists the answer is to get one, not to pick numbers off a calculator. Concrete strength, exposure class, soil, loading and seismic requirements all change the answer and none of them is an input here. Use these figures to price and to order, never to build.
Sources
- Concrete Reinforcing Steel Institute — Lap Splices — what sets splice length, and the ACI 318 requirement that the engineer shows every splice on the drawings
- Concrete Reinforcing Steel Institute — Corrosion-Resistance Bars — the passive film that concrete's high pH grows on the steel, and what carbonation and chlorides do to it
Spotted a mistake in this article?